技术宅的折腾
生命的乐趣在于折腾
- Win开发环境配置
- VS Code 万能编辑器
- Ubuntu 下搭建 RustDesk 服务器
- Docker
- 2026年网络部署
- 印刷与字体
- FVWM on Ubuntu 21.04
- Linux
- 文本编辑器配置
- 收藏夹
- AI 提示词
Win开发环境配置
常用软件: Notepad++, Everything, WindowsTerminal,Git
1.设置github ssh key:ssh-keygen -t ed25519 -C "your_email@example.com" , 文件位置在 C:\Users\用户名\.ssh\id_ed25519:
- Windows Terminal配置右键启动,
参考以下内容,放在.reg文件中,中文版Window的文件编码设置GB2312, 否则右键显示文件乱码。
Windows Registry Editor Version 5.00

[HKEY_CLASSES_ROOT\Directory\Background\shell\wt]
@="在此处打开 Terminal"
"Icon"="C:\\DevWin\\terminal-1.24.10212.0\\Images\\terminal.ico"

[HKEY_CLASSES_ROOT\Directory\Background\shell\wt\command]
@="C:\\DevWin\\terminal-1.24.10212.0\\wt.exe -d ."
VS Code 万能编辑器
- 皮肤: Atom One Dark Theme, file-icons,Todo Tree, YAML
- C++: C/C++ by Microsoft, Better C++ Syntax, C/C++ DevTools, C/C++ Extension Pack, C.C++ Runner
- Go: Go by Microsoft,
- Python: Python by ms, Pylance by ms.
- 重要: GitLens
- 编译: Cmake, CMake Tools
- 代码检查:Code Spell Checker, CodeLLDB
- 辅助开发: YAML by Red Hat, Thunder Client (测试Web接口),Dev Containers, Doxygen Documentation Generator
自定的必备快捷键
跳转到定义 Ctrl B, 跳转到指定行Ctrl G, 重构 Shift F6, 打开文件 Ctrl P
Ubuntu 下搭建 RustDesk 服务器
- 安装docker
sudo apt update && sudo apt upgrade -y
curl -fsSL https://get.docker.com | bash -s docker

# 创建工作目录
mkdir -p ~/rustdesk-server && cd ~/rustdesk-server
- 编写配置文件
为了安全,我们将默认的 21116 端口改为 30256(你可以自定义)。
创建一个 docker-compose.yml, nano docker-compose.yml。
version: '3'

# hbbs 是 ID 服务(类似信令服务器),hbbr 是中继服务(Data Relay)
services:
  hbbs:
    container_name: rdesk-hbbs
    image: rustdesk/rustdesk-server:latest
    # -r 指定中继服务器地址和端口,-k _ 强制使用加密 Key
    command: hbbs -r <你的服务器公网IP或者域名>:30257 -p 30256 -k _
    volumes:
      - ./data:/root
    network_mode: "host"
    restart: unless-stopped

  hbbr:
    container_name: rdesk-hbbr
    image: rustdesk/rustdesk-server:latest
    command: hbbr -p 30257 -k _
    volumes:
      - ./data:/root
    network_mode: "host"
    restart: unless-stopped
- 后台启动
docker compose up -d
获取连接密钥: RustDesk 启动后会在 data 目录下生成一对 Ed25519 密钥对。运行以下命令查看公钥
cat data/id_ed25519.pub
记下这串长字符串,这是你客户端连接的唯一凭证 Key。
- 测试端口
telnet 你的ip 30256
- 客户端安装
设置->网络,填入端口和Ke即可
Docker
Docker安装-从零开始(通用)
1.1 安装依赖
sudo apt-get update
sudo apt-get install -y \
    ca-certificates \
    curl \
    gnupg \
    lsb-release
1.2添加 Docker 官方 GPG Key
sudo mkdir -p /etc/apt/keyrings
curl -fsSL https://download.docker.com/linux/ubuntu/gpg | sudo gpg --dearmor -o /etc/apt/keyrings/docker.gpg
国内使用阿里云镜像
1.3添加 Docker apt 仓库
echo \
  "deb [arch=$(dpkg --print-architecture) signed-by=/etc/apt/keyrings/docker.gpg] \
  https://download.docker.com/linux/ubuntu \
  $(lsb_release -cs) stable" \
  | sudo tee /etc/apt/sources.list.d/docker.list > /dev/null
国内阿里云仓库
1.4 安装 Docker Engine
sudo apt-get update
sudo apt-get install docker-ce docker-ce-cli containerd.io
1.5 将当前用户加入 docker 组(避免每次都 sudo)
sudo usermod -aG docker $USER
newgrp docker   # 立即生效,或者重新登录
国内这里需要配置镜像加速。
1.6 安装验证
docker --version
docker run hello-world
1.7 拉取基础镜像与测试
docker pull rockylinux:8

# 验证 glibc 版本
docker run --rm rockylinux:8 ldd --version
# 应输出: ldd (GNU libc) 2.28
1.8 创建Dockerfile,构建新镜像
mkdir ~/py37-builder && cd ~/py37-builder
创建 Dockerfile, 如下
FROM rockylinux:8

RUN dnf install -y \
    gcc \
    gcc-c++ \
    make \
    wget \
    openssl-devel \
    bzip2-devel \
    libffi-devel \
    zlib-devel \
    readline-devel \
    sqlite-devel \
    xz-devel \
    tk-devel \
    ncurses-devel \
    gdbm-devel \
    && dnf clean all

WORKDIR /tmp
RUN wget https://www.python.org/ftp/python/3.7.9/Python-3.7.9.tgz && \
    tar xzf Python-3.7.9.tgz && \
    cd Python-3.7.9 && \
    ./configure --prefix=/usr/local/python37 && \
    make -j$(nproc) && \
    make install && \
    rm -rf /tmp/Python-3.7.9*

RUN /usr/local/python37/bin/pip3 install --upgrade pip

RUN mkdir /packages
WORKDIR /packages
构建命令:
docker build -t py37-kylin-builder .
1.9 在容器内运行各种指令
省略
Docker安装(中国大陆)
阿里云Docker源
# 1. 安装必要的证书工具
sudo apt-get update
sudo apt-get install -y ca-certificates curl gnupg

# 2. 添加阿里云的 GPG 密钥
sudo install -m 0755 -d /etc/apt/keyrings
curl -fsSL https://mirrors.aliyun.com/docker-ce/linux/ubuntu/gpg | sudo gpg --dearmor -o /etc/apt/keyrings/docker.gpg
sudo chmod a+r /etc/apt/keyrings/docker.gpg

# 3. 将阿里云 Docker 软件源写入系统列表
echo \
  "deb [arch=$(dpkg --print-architecture) signed-by=/etc/apt/keyrings/docker.gpg] https://mirrors.aliyun.com/docker-ce/linux/ubuntu \
  $(. /etc/os-release && echo "$VERSION_CODENAME") stable" | \
  sudo tee /etc/apt/sources.list.d/docker.list > /dev/null
镜像加速器
sudo mkdir -p /etc/docker
sudo tee /etc/docker/daemon.json <<-'EOF'
{
  "registry-mirrors": [
    "https://docker.m.daocloud.io",
    "https://huecker.io",
    "https://dockerhub.timeweb.cloud",
    "https://noohub.net"
  ]
}
EOF

# 重启 Docker
sudo systemctl daemon-reload
sudo systemctl restart docker
Docker 使用
# 1. 启动容器交互式终端
# Mount current directory to /app and open bash
docker run -it --rm -v $(pwd):/app -w /app py37-kylin-builder /bin/bash

# 2.执行常规命令 (python项目)

/usr/local/python37/bin/pip3 install -r requirements.txt
/usr/local/python37/bin/python3 main.py
2026年网络部署
1. 连接远程机器
ssh root@ip_address -p 22
2. 部署脚本
- 方案选择:VLESS-REALITY, sing-box
- 解释: VLESS是加密协议; Xray/sing-box是引擎,可以选择不同的协议,路由和规则;Reality是传输层,提升隐蔽和效率。
- 脚本参考: sing box一键安装脚本, Xray一键安装脚本
bash <(wget -qO- -o- https://gist.githubusercontent.com/crb912/ce8be1f797beda2778e963a0efc47185/raw/free_network_deploy.sh)
运行结果, 类似如下示例:
------------- 链接 (URL) -------------
vless://23879191-cf9b-4ddb-89-43ffd5e2e@112.101.111.111:443?encryption=none&security=reality&flow=xtls-rprx-vision&type=tcp&sni=www.paypal.com&pbk=wYLre3M2342344VCVxh14&fp=chrome#23xxx-reality-112.101.111.111
------------- END -------------
3. 测试是否运行
- 打开:https://tcp.ping.pe/
- 写上你的 VPS IP和端口,示例:1.1.1.1:443
- 运行结果如果是绿色, 类似
Connection to 1.1.1.1:443 successful – 11 ms,那说明安装成功
4. 更改端口
高位端口不安全,改用443端口
sing-box
# 选择2, 更改配置
# 选择2, 更改端口
复制或保存最新的 vless链接。
5. 安装客户端
下载sing-box 或 clash 客户端, https://github.com/xinggaoya/sing-box-windows/releases
苹果或者安卓,各种客户端都可以找到。
6. 订阅转换
vless的协议链接则需要转换成对应客户端支持的格式。网络上有别人提供的在线转换工具,但并不安全;可以将链接里的ip改一下,再转换,再改回来。(这种方式并不优雅。)
更优雅的解决方案,白嫖免费的cloudflare,每天有1万次请求
- 在cloudflare 部署worker。 计算和AI -> Workers 和 Pages -> 创建应用程序 -> 编辑代码
- 把我的订阅转换的源代码复制到cf。 订阅转换的js源代码(支持clash和sing-box): Works js code
- 在 cloudflare 配置存储: 存储和数据库-> Workers KV -> 创建实例 -> 名字填: my_sub_db
- 将存储绑定到worker。
打开对应url,测试转换服务能否成功转换。
7. 使用自定义域名
默认的url容易被屏蔽,因此应该购买使用自定义的域名。
域名购买和托管
- Spaceship购买一个7位数字的xyz域名。
- 点击clouldflare右上角的加号,连接域。
- 填写自己买的域名。
- “前往继续激活”, CF会给两个域名服务器,比如”jason.ns.cloudflare.com”, “jason.ns.cloudflare.com”
- Spaceship的域名设置,买到的数字域名的DNS设置,选择自定义DNS,把CF给的两个地址填写进去。
- 在CF上点击 “我已更新域名服务器”
等待域名激活成功
- 在DNS-记录的菜单,两个A类型的记录的代理状态(小黄云) 已代理。编辑它,代理状态改成仅DNS。
- 把原有非clouldflare的域名根服务器的两条记录删除掉。
- 点击CF主页,直到域名的状态不再是红色的错误,“名称服务器无效”
- 需要20分钟左右,邮件会有通知:“111111.xyz 现已在 Cloudflare (Free 计划下激活)”, 激活成功。
指向Worker
- 点击左侧菜单: 计算和AI -> Workers & Pages -> 点击你的 Worker 名字。
- 点击顶部的 Settings (设置) -> 域和路由。
- 点击 Add Custom Domain (添加自定义域名)。
输入你想要的二级域名,比如 sub.1139399.xyz。
点击保存。Cloudflare 会自动帮你添加一条 DNS 记录,指向你的 Worker。 后续就可以用自己部署的订阅链接了。
印刷与字体
我需要打印一些文档。为了获得更好的中文印刷质量,我花了一点时间解决这个问题。如果从零考究怎么保证中文印刷的美观, 很可能需要费些更多的心思,然而这不是我的专业和兴趣。因此我走了一个捷径,从我的书籍里面挑选一些印刷精良的书籍 ,关注它们是如何印刷的。模仿的方法,我就能获得不错的印刷效果了。
首先,我想到的译林出版社的《分成两半的子爵》,它的印刷精良。这本书的页面和字体适合印刷中短篇小说(不超过300页),会有很好的阅读体验。经过我的反复测量,该书的具体数据如下:
页面样式:
- 开本:大32开,纸张实际大小为:140mm*203mm。
- 页面的边距:左页边距20mm,右页边距22mm
- 实际的文字内容尺寸:98mm(宽)*135mm(高)
文字:
- 字体是:方正书宋
- 字号是 9.5pt
- 行间距 17pt (字号的1.8倍)
字体的选用
中文字体:
- 华康黑体W3 电脑屏幕阅读
- 方正字体 适合小说类读物的印刷
FVWM on Ubuntu 21.04
FVWM(https://www.fvwm.org/) is an ICCCM-compliant multiple virtual desktop window manager for the X Window system. It is configured by editing text-based configuration files.
I’m tired of the endless bugs and updates of the Ubuntu’s default GNOME desktop. Therefore, I switched to FWVM and no longer use GNOME desktop.
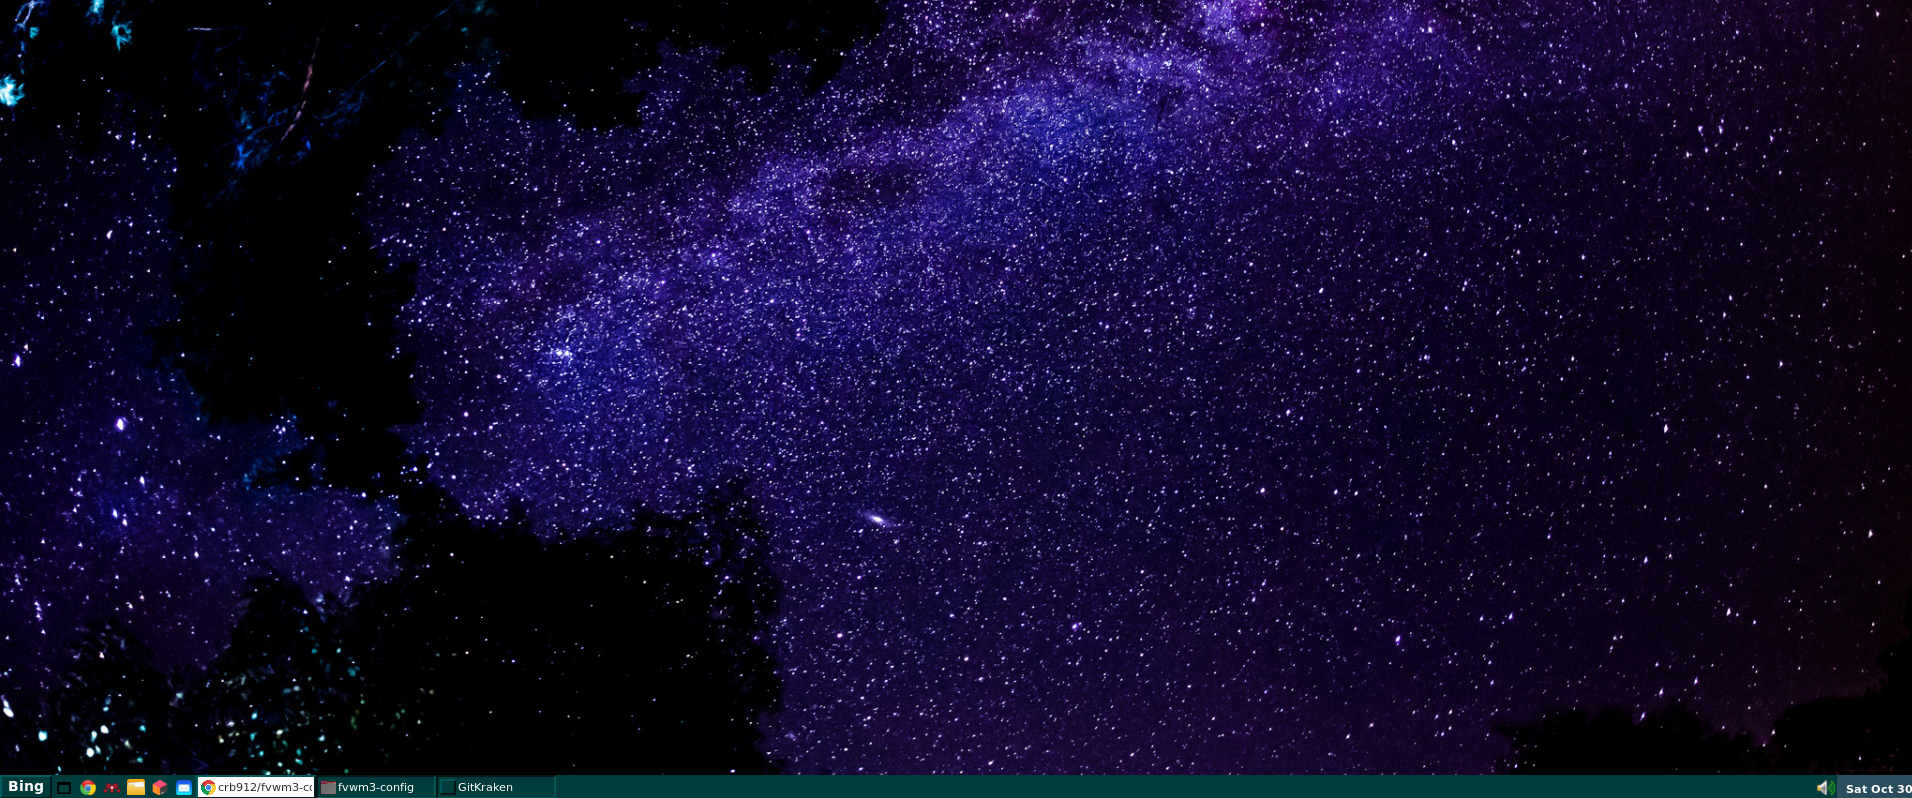
I tried FVWM for a few days, and it works very well. I haven’t added some features yet, but it doesn’t matter. I will continue to improve my Fvwm when I have free time. Screenshot of my desktop:
Part I: Install fvwm and quick start
Setup 1. Install the FVWM3 package.
Setup 2. Build your ~/.xinitrc file
The xinit program allows a user to manually start an Xorg display server. More details: https://wiki.archlinux.org/title/Xinit
My file ~/.xinitrc is here.
Setup 3. Test and Try basic fvwm configuration
I use the default configuration files in fvwm3/default-config/* as my starting point. So, I copy those configuration files to ~/.fvwm directory with the following command:
# copy fvwm3/default-config github directory to ~/.fvwm.
sudo cp -r /usr/local/share/fvwm3/default-config/* ~/.fvwm

sudo chown -R someuser ~/.fvwm

sudo rm -r /usr/local/share/fvwm3/default-config
If your are running Ubuntu with GNONE, you must logout current Ubuntu session, and Ctrl + Alt + F2. Then:
# Disable gnome display manager.
sudo service gdm3 stop

#  start X
startx
Part II: Build your own fvwm3 .config
You can modify the default .fvwm/config as your first start. Or copy and use my config file directly, then make your personalized twist and changes.
I use nemo as my file manager.
Recommended reading
- archlinux.org: FVWM
- Some discuss in ArchLabsLinux/fvwm3
- How to build a taskbar?
- FVWM Tips
- Youtube: Obscure Window Manager Project - FVWM
- https://zensites.net/fvwm/guide/index.html
Part III: Switch from Gnome to Fvwm permanently
Setup 1. Disable Gdm
sudo systemctl disable gdm3
Setup 2. Boot with command-line interface:
sudo gedit /etc/default/grub
comment: #GRUB_CMDLINE_LINUX_DEFAULT="quite splash" and add “text”. This:
#GRUB_CMDLINE_LINUX_DEFAULT="quite splash"
GRUB_CMDLINE_LINUX_DEFAULT="text"
Then, sudo update-grub.
Setup 3. Tell systemd to not load the desktop with:
sudo systemctl enable multi-user.target --force
sudo systemctl set-default multi-user.target
Setup 3. Auto-run startx
add entry to ~/.bash_profile or ~/.zprofile
if [ -z "${DISPLAY}" ] && [ "${XDG_VTNR}" -eq 1 ]; then
  exec startx
fi
Linux
常用命令
- 检查服务器状态:
-
free -h 检查内存和swap分区, ps aux –sort=-%mem head -20 检查内存大户
文本编辑器配置
geany中文乱码,并非由于编码错误,而是字体不支持中文。查看->字体->选择中文不乱码的字体即可。
收藏夹
AI 提示词
实现闵可夫斯基时空图
简要的提示词: 生成一个交互式的闵可夫斯基时空图(Minkowski Spacetime Diagram)。可以通过滑动速度滑块,让我的可以亲自观察“参考系的变换”是如何改变两个事件A和B的时间投影顺序的。
复杂的提示词:
实现一个微型前端应用 Web Component。需要响应我的输入(滑动滑块)并实时重绘画面,通过 Web 前端技术栈现场计算和渲染出来。不要给我代码和UI 声明的具体内容,直接在我们的对话框渲染出来。
具体的实现机制:
1.物理逻辑推导与 UI 声明:根据物理学的洛伦兹变换,在后台输出一段结构化的 JSON 配置文件。你可以把它理解为一份“声明式”的需求说明书。在这份说明书中,你需要定义:
- UI 布局与控件: 需要一个控制台,包含一个取值范围在 $[-0.8, 0.8]$ 之间、步长为 $0.05$ 的滑块,用来代表相对速度 $v/c$。
- 渲染内容: 静态的 $x-ct$ 坐标系、代表事件 A 和 B 的固定坐标点,以及随着滑块数值变化而发生角度偏转的动态坐标系 $x’-ct’$ 和投影线。
- 技术依赖: 指定系统使用 D3.js(用于数据驱动的 DOM 操作)或原生的 HTML5 Canvas API 进行 2D 绘图,并处理相关的数学计算。
2.即时代码生成(由聊天平台的引擎完成):这个聊天界面底层集成了一个动态渲染引擎。当它接收到输出的 JSON 指令后,会瞬间编写出对应的 JavaScript、HTML 和 CSS 代码。
3.沙盒挂载与实时响应(在我的浏览器中运行):生成的前端代码会被安全地挂载到我当前聊天窗口的一个沙盒环境(通常是隔离的 Iframe 或 Shadow DOM)中运行。当我拖动滑块时,底层的 JavaScript 事件监听器(Event Listener)会被触发,它会读取当前滑块的 $v/c$ 值,代入洛伦兹变换公式 $t’ = \gamma(t - vx/c)$,重新计算投影线的交点坐标,然后调用绘图 API 清空画布并重新绘制每一帧。
实现Lamport 逻辑时钟模拟器
目标: 构建一个交互式的 3 进程(P1, P2, P3)Lamport 逻辑时钟模拟器,重点以时间轴(Timeline)或垂直事件日志(Event Log)的形式展示每次操作的历史推演过程。 数据状态: 初始化三个进程(P1, P2, P3),所有初始逻辑时钟值为 0。 策略: 必须使用列表或时间轴布局来展示事件流,严禁仅使用显示单一当前状态的大数字卡片。 输入:
- 每个进程专属的“本地事件”触发按钮。
- 完整的跨进程消息发送按钮组(如 P1->P2, P2->P3, P3->P1 等)。
- 整体重置按钮。 行为:
- 为 P1, P2, P3 分别在界面上划分独立的区域,并在每个区域内维护一个自上而下的历史事件列表。
- 当触发“本地事件”时:该进程时钟 +1,必须在该进程的列表中追加一条新记录(明确显示:“本地事件发生,时钟 = [新值]”)。
- 当触发跨进程“发送消息”时:
- 源进程时钟先 +1,并在源进程列表中追加记录:“发出消息至 [目标],携带时钟 T = [新值]”。
- 目标进程接收消息,并在目标进程列表中追加记录,必须明确展示计算公式:“收到消息,时钟 = max([本地旧值], [接收到的T]) + 1 = [新计算值]”。
- 界面布局必须让用户能清晰追踪到时钟数字是如何一步步累加和跳跃的。
- UI 语言必须为中文。